Distribute and easily maintain a component is valuable because it addresses a common challenge in scaling and collaborating on iOS projects. By sharing strategies for modularizing code, using Swift Package Manager, applying semantic versioning, and setting up proper documentation and CI/CD workflows, developers can create reusable, testable, and maintainable components that boost productivity across teams.
Just as important as creating scalable components is defining a solid framework for maintaining and distributing them. In this post, we'll focus on the infrastructure side of that process.
The Alert Component
First step is creating the package that will hold our component by typing following 3 commands:
$ mkdir AlertComponent
$ cd AlertComponent
$ swift package init --type library 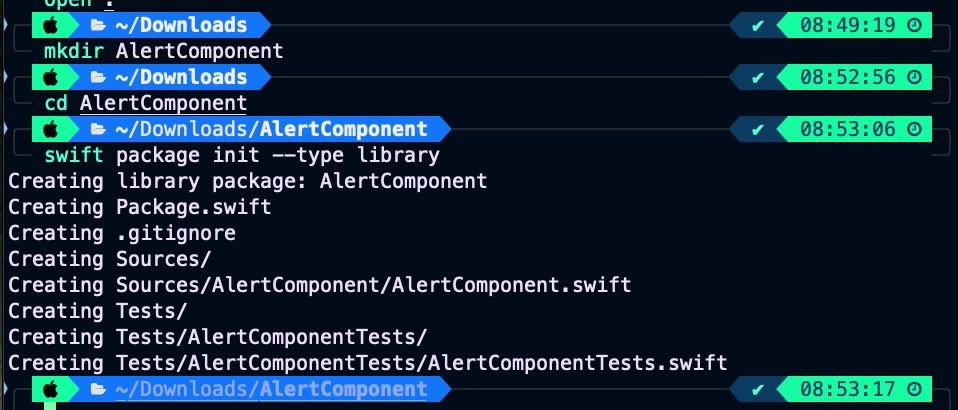
Once the package scaffold is created, implement the component. In this post, the focus is on distribution, not maintenance or component scalability — which are certainly important and will be covered in future posts.
import SwiftUI

@available(macOS 10.15, *)
public struct AlertView: View {
    let title: String
    let message: String
    let dismissText: String
    let onDismiss: () -> Void

    public init(title: String, message: String, dismissText: String = "OK", onDismiss: @escaping () -> Void) {
        self.title = title
        self.message = message
        self.dismissText = dismissText
        self.onDismiss = onDismiss
    }

    public var body: some View {
        VStack(spacing: 20) {
            Text(title)
                .font(.headline)
                .padding(.top)

            Text(message)
                .font(.body)

            Button(action: onDismiss) {
                Text(dismissText)
                    .bold()
                    .frame(maxWidth: .infinity)
                    .padding()
                    .background(Color.blue)
                    .foregroundColor(.white)
                    .cornerRadius(8)
            }
        }
        .padding()
        .background(Color(.white))
        .cornerRadius(16)
        .shadow(radius: 10)
        .padding()
    }
}
It is a simple alert component. In a future post, we will explore how to improve its maintainability, scalability, and documentation. Most importantly, we will upload the code to a GitHub repository.

Consume component
For consume it this component we are going to create a simple iOS project, but this time via Tuist. Tuist is a powerful yet often underutilized tool that can greatly simplify project setup, modularization, and CI workflows, you can find an introduction to this technology in this post. At the end is clearer to track configuration changes in project by code.
$ tuist init 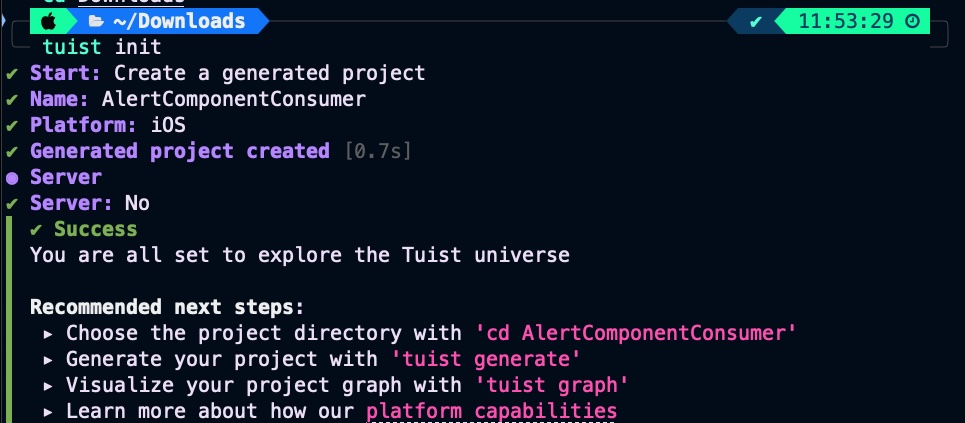
Next is configuring SPM alert component package on Tuist:
$ tuist edit Go to Project.swif, In packages add package url and version, and also in targets add package dependecy:
import ProjectDescription

let project = Project(
    name: "AlertComponentConsumer",
    packages: [
        .package(url: "https://github.com/JaCaLla/AlertComponent.git", from: "0.0.1")
    ],
    targets: [
        .target(
            name: "AlertComponentConsumer",
            ...
            dependencies: [
                .package(product: "AlertComponent")
            ]
        ),
        .target(
            name: "AlertComponentConsumerTests",
          ...
            dependencies: [.target(name: "AlertComponentConsumer")]
        ),
    ]
)
Run twist generate and build de project for chacking that all is ok.
$ tuist generate 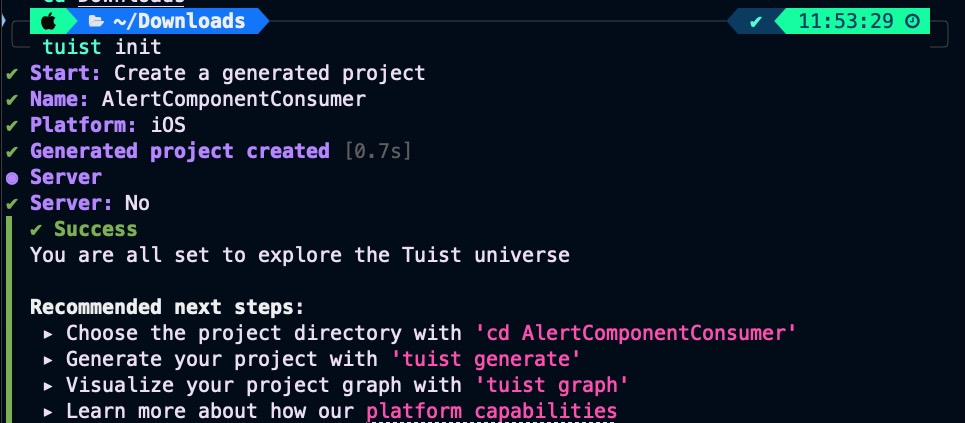
Observe that component has been included as Package dependency:

Update ContentView.swift for start playing with AlertComponent.
import SwiftUI
import AlertComponent

struct ContentView: View {
    @State private var showAlert = false

    var body: some View {
        ZStack {
            Button("Show alert") {
                showAlert = true
            }

            if showAlert {
                AlertView(
                    title: "Warning",
                    message: "This is a personalized alert view",
                    onDismiss: {
                        showAlert = false
                    }
                )
                .background(Color.black.opacity(0.4).ignoresSafeArea())
            }
        }
    }
}
Buid and run on a simulator for cheking that all is working fine:

You can find the AlertComponentConsumer iOS project in our GitHub repository.
Component maintenance
From now on, we have both the component deployment and the final user component. Component developers not only write the source code, but also need to create a bench test project to properly develop and validate the component. This bench test project is also very useful for final developers, as it serves as documentation on how to integrate the component into their iOS projects.
This project will be called ‘AlertComponentDemo’ and will be placed in a sibling folder from Alert Componet. This is not casuality because we add component source files to this project as a reference, so comopent developer in the same XCode project will be able to update component and bench test source code.
We will use also Tuist for generating this project:
$ tuist init 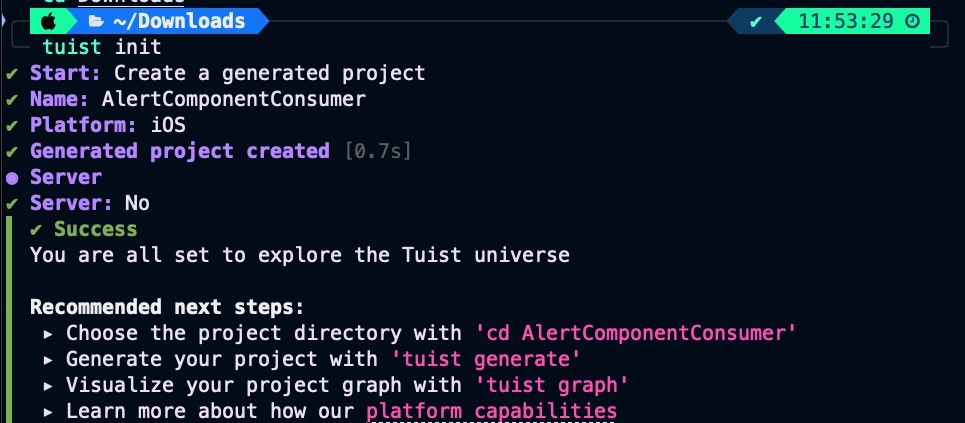
Remember, it is mandatory to know where we place the project folder because we will include component source files as references. In my case, I decided to keep the folder in the same parent directory as the siblings.

Edit project with Tuist for including component source code references….
let project = Project(
    name: "AlertComponentBench",
    targets: [
        .target(
            name: "AlertComponentBench",
           ...
            sources: ["AlertComponentBench/Sources/**",
                      "../AlertComponent/Sources/**"],
            ...
)
Genertate Xcode project with Tuist
$ tuist generate 
For simplicity, we will place the same code in ContentView.swift that we previously used in Consumer to verify that everything is properly integrated and functioning.

Now the component is easier to maintain because, within the same project, the developer can manage both the component code and the code for starting to work with the component.

But code changes keept separately in two different reposiories:

This ensures that the component repository contains only the code specific to the component. You can find the AlertComponentBench iOS project in our GitHub repository.
Component Control Version
Having a version control is crucial for managing changes, ensuring stability, and supporting safe, modular development. It allows developers to track the evolution of the component, prevent breaking changes through semantic versioning, and let consumers lock to specific versions that are known to work. This setup fosters reliable updates, easier debugging, streamlined collaboration, and consistent integration in both personal and team projects. Ultimately, version control transforms a simple UI component into a maintainable, scalable, and production-ready package.
As component is placed on GitHub we will implement a GitHub Action that will be triggered every time a pull request merges into main branch
name: Tag on PR Merge to Main

on:
  pull_request:
    types: [closed]
    branches:
      - main

jobs:
  tag:
    if: github.event.pull_request.merged == true
    runs-on: ubuntu-latest

    steps:
      - name: Checkout repo
        uses: actions/checkout@v4
        with:
          fetch-depth: 0  # Needed to fetch tags

      - name: Set up Git
        run: |
          git config user.name "GitHub Actions"
          git config user.email "actions@github.com"

      - name: Get latest tag
        id: get_tag
        run: |
          latest=$(git describe --tags `git rev-list --tags --max-count=1` 2>/dev/null || echo "v0.0.0")
          echo "Latest tag: $latest"
          echo "tag=$latest" >> $GITHUB_OUTPUT

      - name: Determine bump type from PR title
        id: bump
        run: |
          title="${{ github.event.pull_request.title }}"
          echo "PR Title: $title"
          first_word=$(echo "$title" | awk '{print toupper($1)}')
          case $first_word in
            MAJOR)
              echo "bump=major" >> $GITHUB_OUTPUT
              ;;
            MINOR)
              echo "bump=minor" >> $GITHUB_OUTPUT
              ;;
            *)
              echo "bump=patch" >> $GITHUB_OUTPUT
              ;;
          esac

      - name: Calculate next version
        id: next_tag
        run: |
          tag="${{ steps.get_tag.outputs.tag }}"
          version="${tag#v}"
          IFS='.' read -r major minor patch <<< "$version"

          bump="${{ steps.bump.outputs.bump }}"
          case $bump in
            major)
              major=$((major + 1))
              minor=0
              patch=0
              ;;
            minor)
              minor=$((minor + 1))
              patch=0
              ;;
            patch)
              patch=$((patch + 1))
              ;;
          esac

          next_tag="v$major.$minor.$patch"
          echo "Next tag: $next_tag"
          echo "next_tag=$next_tag" >> $GITHUB_OUTPUT

      - name: Create and push new tag
        run: |
          git tag ${{ steps.next_tag.outputs.next_tag }}
          git push origin ${{ steps.next_tag.outputs.next_tag }}
This GitHub Actions workflow automatically creates and pushes a new semantic version tag whenever a pull request is merged into the main branch. It triggers on PR closures targeting main, and only proceeds if the PR was actually merged. It fetches the latest Git tag (defaulting to v0.0.0 if none exist), determines the version bump type based on the first word of the PR title (MAJOR, MINOR, or defaults to patch), calculates the next version accordingly, and pushes the new tag back to the repository. This enables automated versioning tied directly to PR titles.
Now we are going to introduce some changes in the component.

Commit changes in a separate branch:

Prepare pull request:

Create pull request

Once you merge it, GitHub action will be executed.

Let’s pull changes on main branch:

main branch commit from pr has been tagged!
Now let’s going to consume new component version, Tuist edit alert component consumer project:
$ tuist edit import ProjectDescription
let project = Project(
name: "AlertComponentConsumer",
packages: [
.package(url: "https://github.com/JaCaLla/AlertComponent.git", from: "0.2.0")
],
...
)
$ tuist generate 
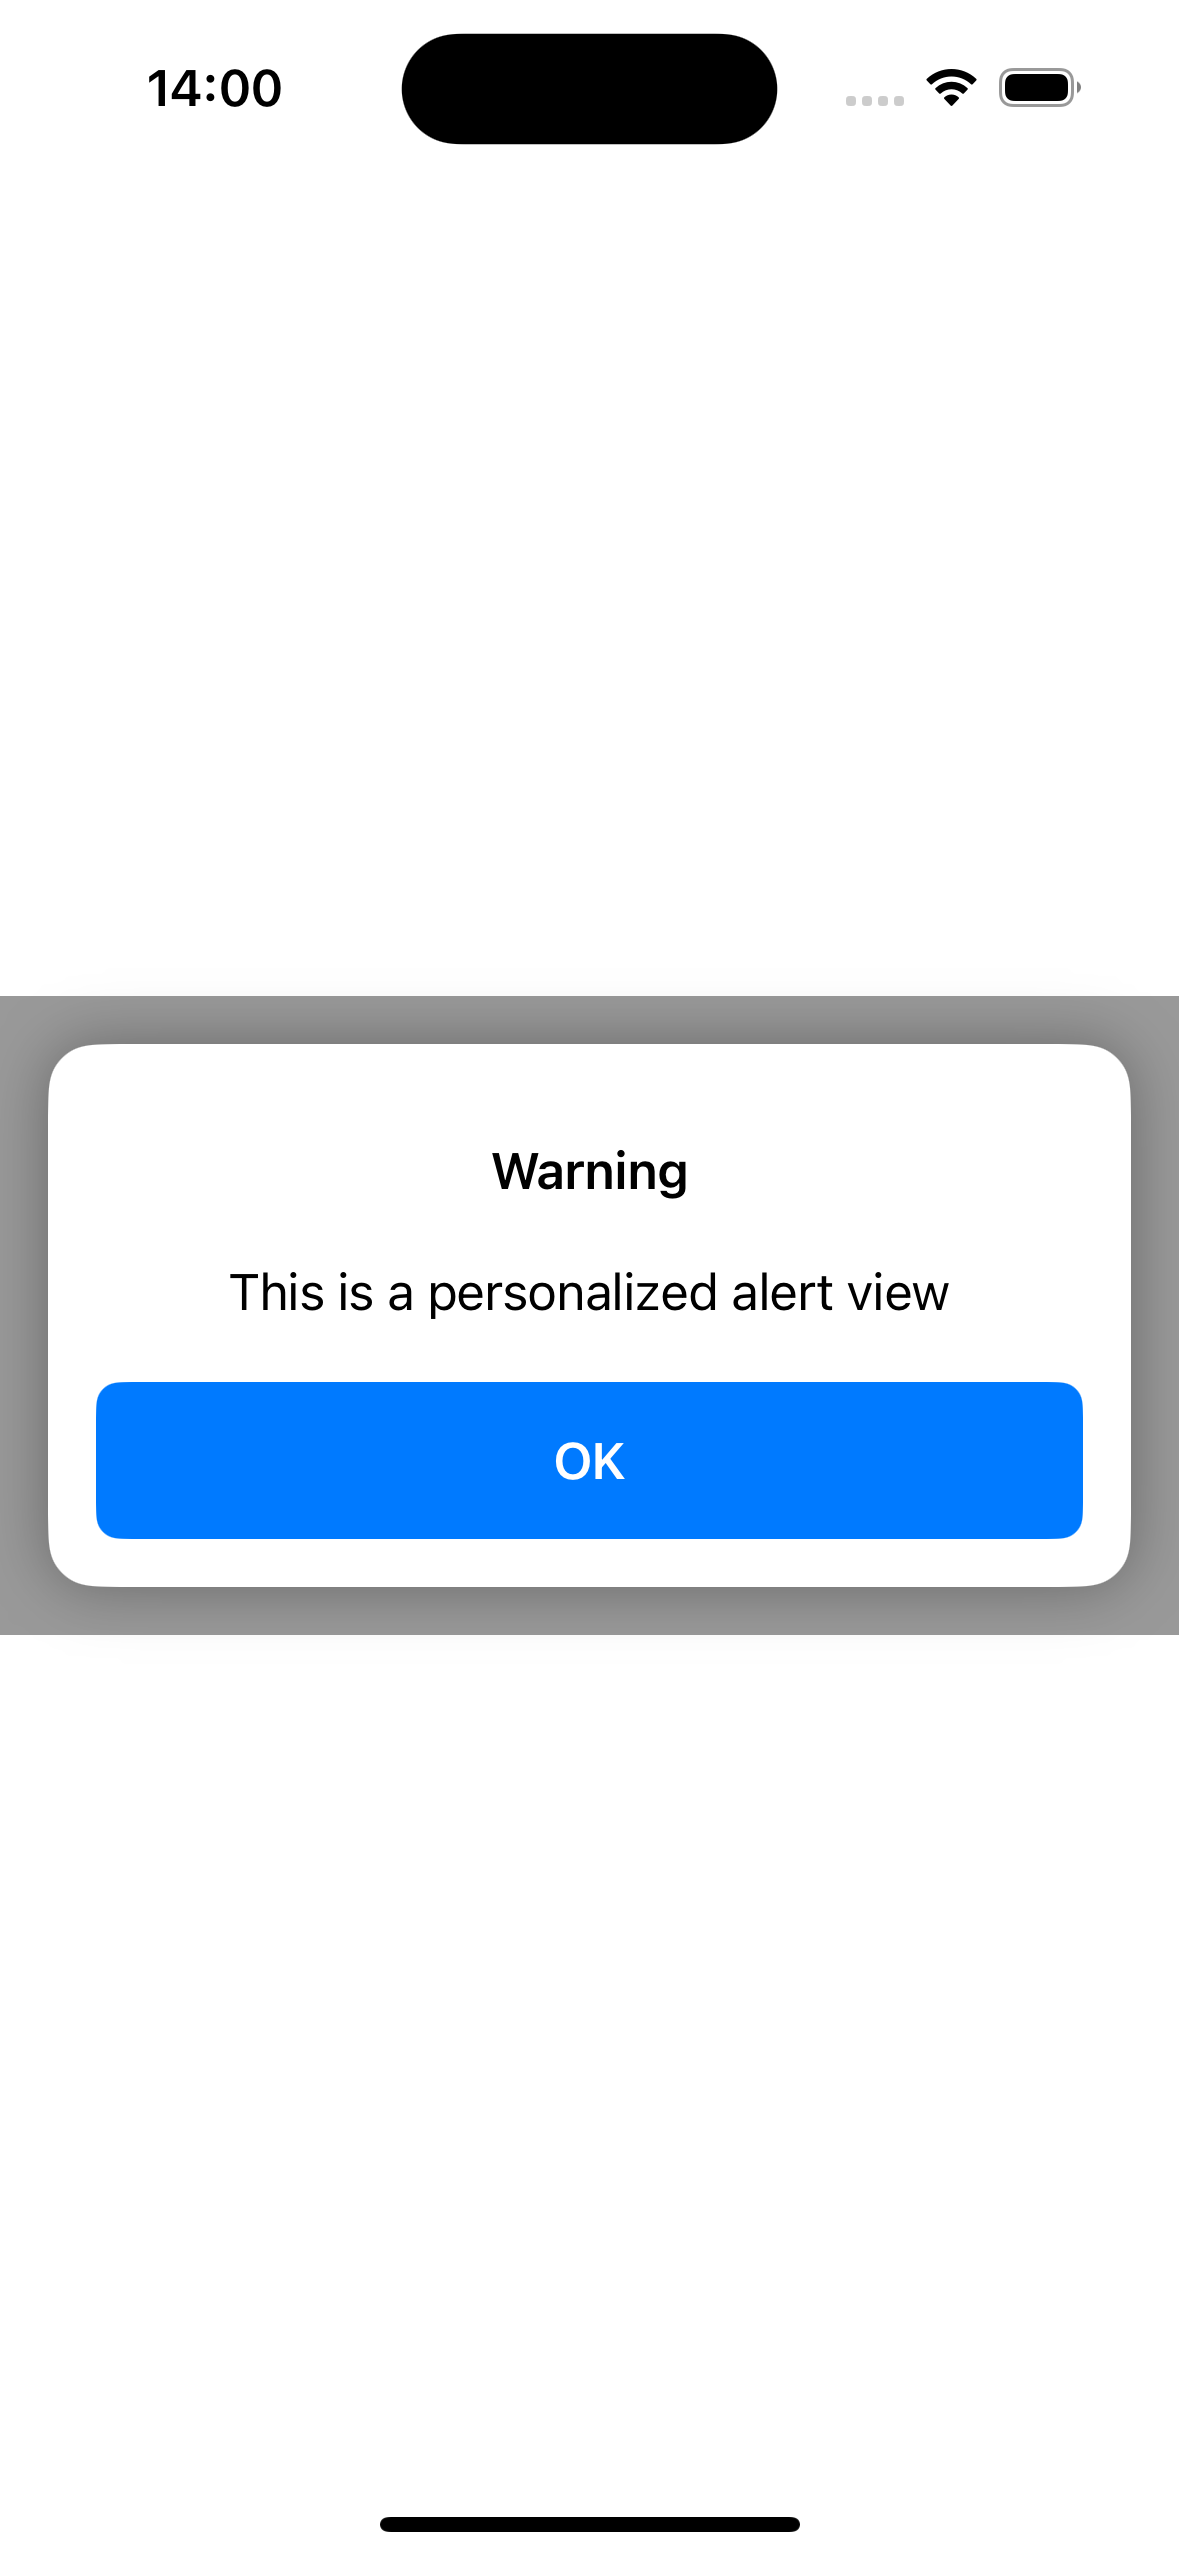
Build and deploy on simulator
Documentation
Last but not least, having good documentation is a great starting point to encourage adoption and ensure a smooth integration process. It’s not about writing a myriad of lines — simply providing a well-written README.md file in the GitHub repository with clear and basic information is enough to help developers start using the component effectively.
Conclusions
Developing a component is not enough; it also requires providing a reusable and scalable architecture, along with delivery mechanisms that enable fast distribution and the ability to track which exact version of the component consumers are using.
References
- Tuist
Official documentation