The goal of this post is to present some techniques for obfuscating or preventing easy access to highly sensitive information, such as account or credit card numbers.
Allow copy
The first thing to clarify is which pieces of information can be copied and which cannot. This behavior is controlled by the .textSelection() modifier.
struct SensitiveCard: View {
let title: String
let primary: String
let secondary: String
let icon: String
let isSelectable: Bool
var body: some View {
VStack(alignment: .leading, spacing: 12) {
HStack(spacing: 12) {
Image(systemName: icon)
.font(.title2)
.padding(10)
.background(.ultraThinMaterial, in: RoundedRectangle(cornerRadius: 14))
Text(title)
.font(.title3.weight(.semibold))
Spacer()
}
Text(primary)
.font(.system(.title2, design: .monospaced).weight(.semibold))
.conditionalTextSelection(isSelectable)
Text(secondary)
.font(.subheadline)
.foregroundStyle(.secondary)
}
.padding(18)
.background(
RoundedRectangle(cornerRadius: 22, style: .continuous)
.fill(.regularMaterial)
.shadow(radius: 12, y: 6)
)
}
}
struct ConditionalTextSelection: ViewModifier {
let enable: Bool
func body(content: Content) -> some View {
if enable {
content.textSelection(.enabled)
} else {
content
}
}
}
extension View {
func conditionalTextSelection(_ enable: Bool) -> some View {
self.modifier(ConditionalTextSelection(enable: enable))
}
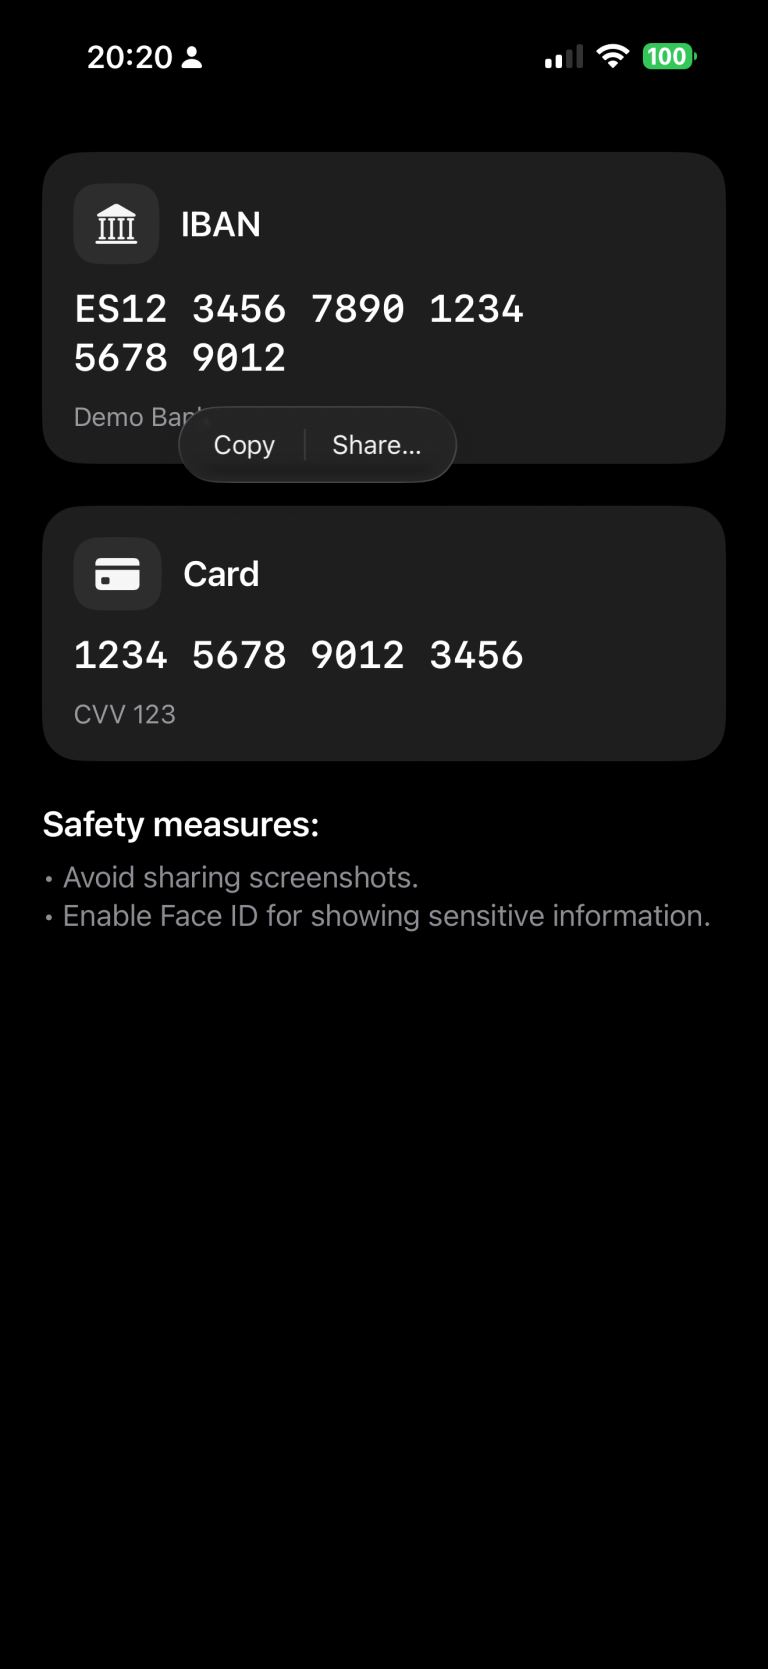
} In this example, we’ve chosen to make the IBAN copyable, while the card number remains restricted.
struct ContentView: View {
@State private var cardNumber = "1234 5678 9012 3456"
@State private var cvv = "123"
@State private var iban = "ES12 3456 7890 1234 5678 9012"
@State private var textSelectability: TextSelectability = .disabled
var body: some View {
ScrollView {
VStack(alignment: .leading, spacing: 24) {
SensitiveCard(title: "IBAN",
primary: iban,
secondary: "Demo Bank",
icon: "building.columns.fill",
isSelectable: true)
SensitiveCard(title: "Card",
primary: cardNumber,
secondary: "CVV \(cvv)",
icon: "creditcard.fill",
isSelectable: false)
VStack(alignment: .leading, spacing: 8) {
Text("Safety measures:")
.font(.title3.bold())
Text("• Avoid sharing screenshots.\n• Enable Face ID for showing sensitive information.")
.foregroundStyle(.secondary)
}
}
.padding(24)
}
}
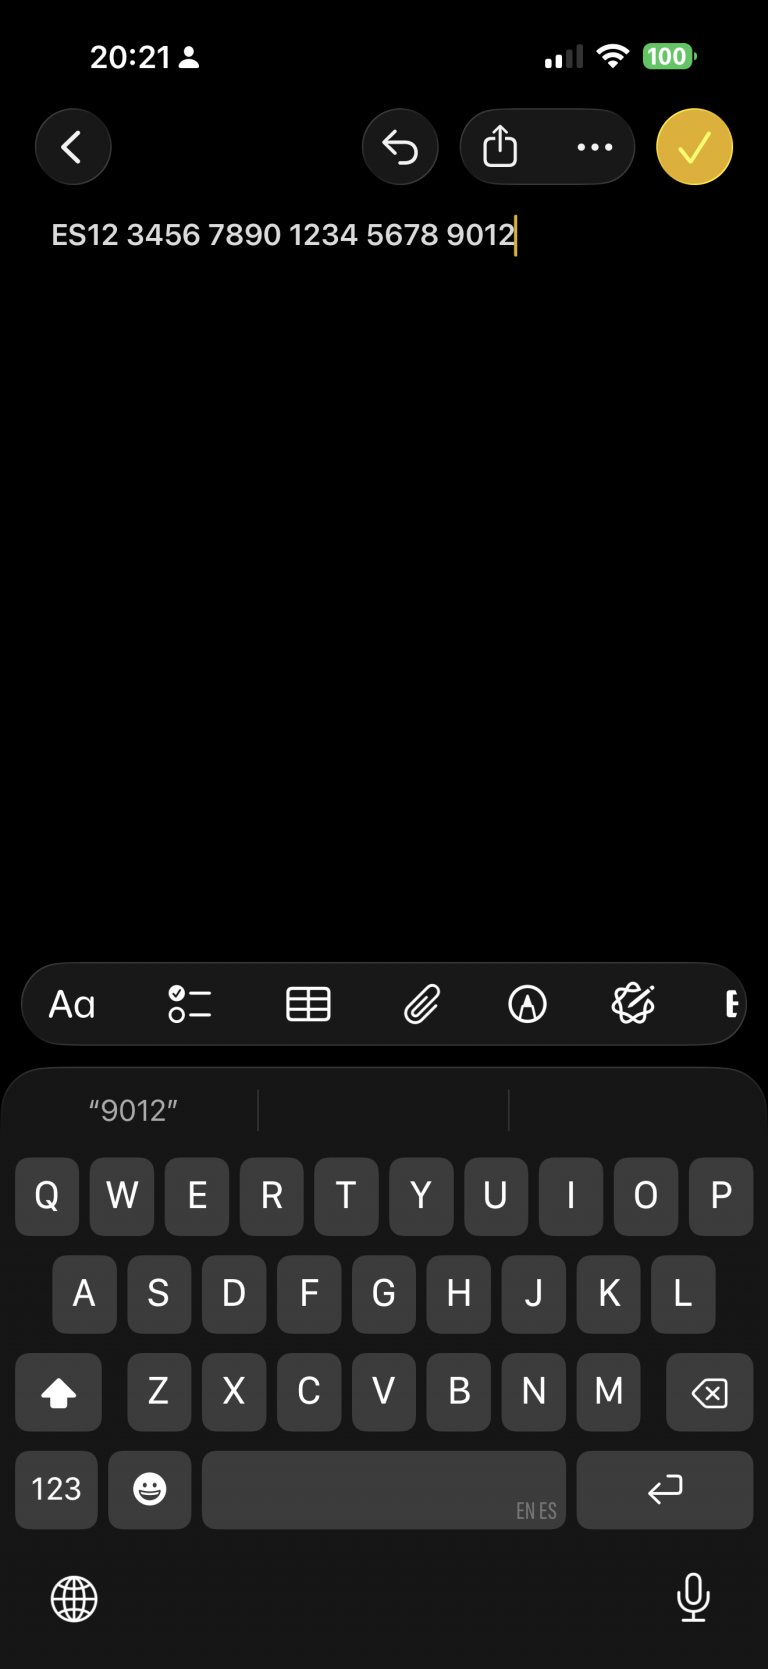
} Run the app and long-press the IBAN code. A contextual pop-up will appear — select “Copy.” Then switch to the Notes app and paste it. You’ll notice that the same operation cannot be performed with the card information.
Privacy button
A measure that can help build user trust is to provide a button that hides sensitive information:
import SwiftUI

struct ContentView: View {
    .....
    var body: some View {
        ScrollView {
            VStack(alignment: .leading, spacing: 24) {
                ....
                Button {
                    // Ejemplo: regenerar/limpiar datos
                    cardNumber = "•••• •••• •••• ••••"
                    cvv = "•••"
                    iban = "ES•• •••• •••• •••• •••• ••••"
                } label: {
                    Label("Mask manually", systemImage: "eye.trianglebadge.exclamationmark.fill")
                }
                .buttonStyle(.borderedProminent)
                .controlSize(.large)
            }
            .padding(24)
        }
    }
}
When changes are deployed:

Detect app activity
An alternative to using a button, or a complementary feature, is detecting changes in the app’s activity — for example, when the app is moved to the background:
import SwiftUI
import UIKit

struct ContentView: View {
    @Environment(\.scenePhase) private var scenePhase
    @State private var privacyMask = false
...

    var body: some View {
        ProtectedView {
            SensitiveView(hidden: $showScreenshotAlert)
        }
        .blur(radius: privacyMask ? 28 : 0)
        .overlay {
            if privacyMask {
                ZStack {
                    Color.black.opacity(0.6).ignoresSafeArea()
                    VStack(spacing: 12) {
                        Image(systemName: "eye.slash.fill")
                            .font(.system(size: 36, weight: .semibold))
                        Text("Content hidden whilst app is not active")
                            .multilineTextAlignment(.center)
                            .font(.headline)
                    }
                    .foregroundColor(.white)
                    .padding()
                }
                .accessibilityHidden(true)
            }
        }
        .onChange(of: scenePhase) { phase in
            privacyMask = (phase != .active)
        }
        ...
}
Deploy and move app to background:

Detect screenshot action
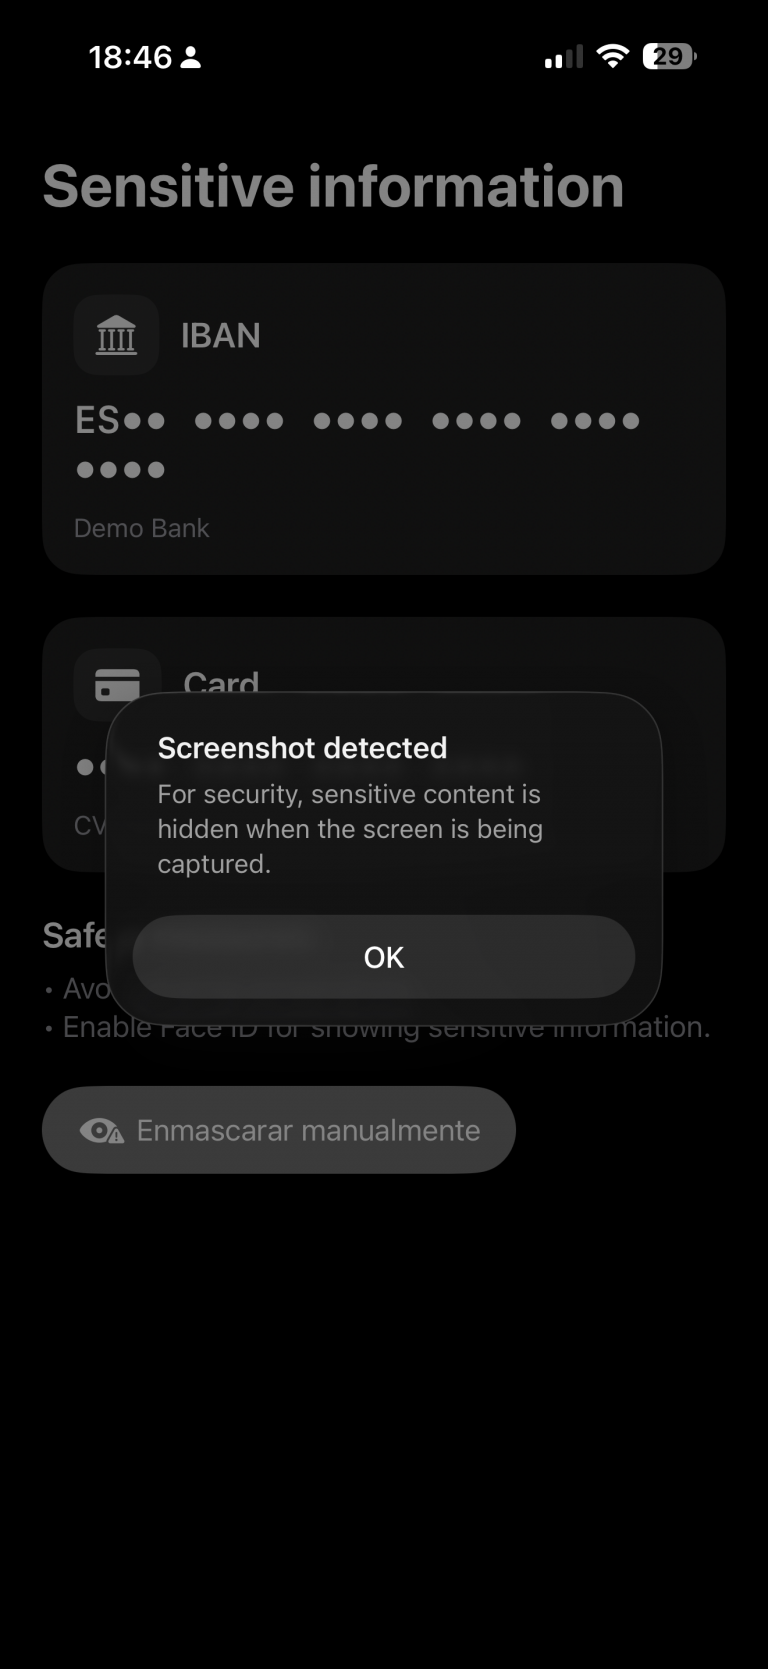
An important point I discovered during this investigation is that, although the app can detect when a screenshot is taken — which sounds good — the screenshot is still captured anyway.

My recommendation in that case would be to invalidate or regenerate the information if temporary keys are involved. Depending on the scenario, you could also notify the backend services that a screenshot has been taken.
The code for detecting a screenshot is as follows:
struct ContentView: View {
...
    @State private var showScreenshotAlert = false

    var body: some View {
        ProtectedView {
            SensitiveView(hidden: $showScreenshotAlert)
        }
       ...
        .onReceive(NotificationCenter.default.publisher(
            for: UIApplication.userDidTakeScreenshotNotification)) { _ in
                showScreenshotAlert = true
            }
        .alert("Screenshot detected",
               isPresented: $showScreenshotAlert) {
            Button("OK", role: .cancel) {}
        } message: {
            Text("For security, sensitive content is hidden when the screen is being captured.")
        }
    }
}
Ofuscate on Recording screen
The final measure is to apply obfuscation when a screen recording is in progress:
struct ProtectedView<Content: View>: View {
    @State private var isCaptured = UIScreen.main.isCaptured
    @ViewBuilder var content: () -> Content

    var body: some View {
        content()
            .blur(radius: isCaptured ? 25 : 0)
            .overlay {
                if isCaptured {
                    ZStack {
                        Color.black.opacity(0.65).ignoresSafeArea()
                        VStack(spacing: 12) {
                            Image(systemName: "lock.fill")
                                .font(.system(size: 32, weight: .bold))
                            Text(String(localized: "protected.overlay.title",
                                        defaultValue: "Content hidden while the screen is being captured"))
                                .multilineTextAlignment(.center)
                                .font(.headline)
                                .padding(.horizontal)
                        }
                        .foregroundColor(.white)
                    }
                    .accessibilityHidden(true)
                }
            }
            .onReceive(NotificationCenter.default.publisher(
                for: UIScreen.capturedDidChangeNotification)) { _ in
                    isCaptured = UIScreen.main.isCaptured
                }
    }
}
When a screen recording session is active and the user switches to our privacy app, the app detects the recording and can respond by displaying an overlay.

Conclusions
It’s not possible to achieve complete protection against data forgery or privacy breaches, but the more countermeasures you apply, the better your security becomes. That’s what I wanted to demonstrate in this post.
You can find the source code for this example in the following GitHub repository.
References
- swift-tagged
GitHub repository